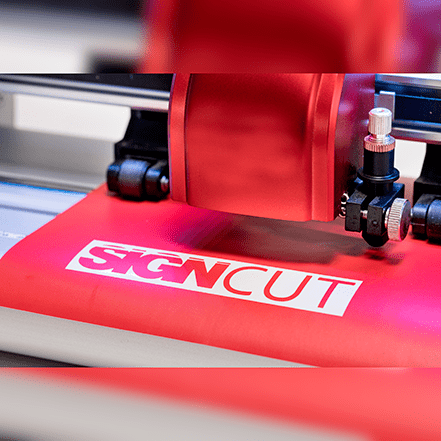
Efficient signmaking software created for
Introducing a winning concept in the sign-making industry. The SignCut Suite is the most updated all-in-one cutting software suite!
Explore where your vision takes you.
Start for free! Learn More
The SignCut Suite
A powerhouse of design, layout and cutting applications aimed to boost efficiency while streamlining your projects from design to production.
Get access to a robust suite of powerful signmaking applications optimised for your cutting plotters with these additional features!
The SignCut BoxMaker
Browse an array of ready-to-use box templates for your personal, school or business needs.
Pick and edit the dimensions of the shape that best suit your projects.
Download for later use or send directly to your plotter for cutting.


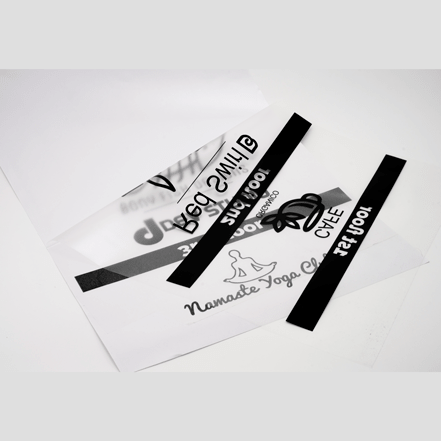
Graphic Tracer
Smart tools that will fix bad graphics. Get professional results with tools that restore logos to their original look.
Graphics restoration software
Graphic Tracer lets you quickly and easily trace and restore ugly, jagged and pixelated graphics into beautiful, scaleable high-quality vector graphics that are ready to use.
Get perfect texts with the actual font
Turning jagged and pixelated texts into the correct font will without any doubt give you the best possible vector graphics for text.
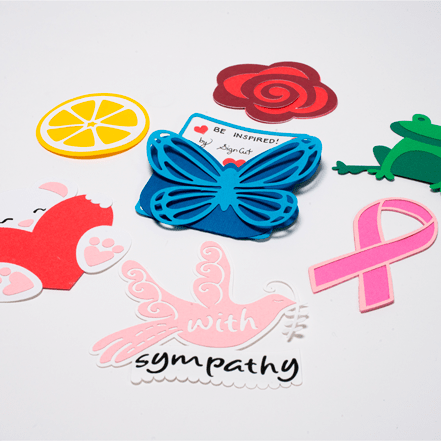
SignCut Cliparts Library
Up to 75,000 free and royalty-free clipart images and vector illustrations to use!
Creative inspirations for all your crafts and projects in our SignCut DRAW clipart library. Categories ranging from animals, food, patterns, numbers, objects, vehicles and so much more!

Works with up to over 1 000 machine models of all brands and manufacturers!


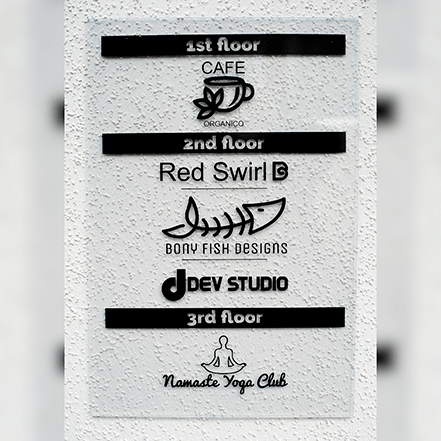
Check different applications of the SignCut Suite.
From office and products signages, vehicle and fleet wraps to fabricated signs, shop fronts and so much more.
Visit our showroom next door!