Startup Installation Guide for Mac
Getting Started with SignCut Pro 2
We are pleased to see you here. SignCut Pro 2 has everything you need to take your cutting experience to the next level.
The information provided in this start-up guide will help you install SignCut Pro 2 and assist in setting up communication with your respective cutting plotter/s to achieve seamless production.
If you run into any issues during the start-up process, remember we also have the start-up support included in SignCut Pro 2 as a supplementary guide.
You may also reach us throughout LiveChat support channel, Monday to Friday, 23 hours a day from our website. Just click on the chat bubble icon located at the bottom right corner of the window to enable livechat and talk to support.
To get started with the start-up installation, please click "Proceed".
Setup cutter
1. Cutter stand
If the cutter comes with a stand, we advise you to check the user manual that came along with the cutting plotter.
The steps to assemble the cutting plotter stand may vary.
2. Cutting plotter
Power source. Start with connecting the power cord on a grounded outlet.
Communication. See the next section for the communication setup.
Pinch holders. Make sure the pinch holders are positioned under the markings or correctly positioned over the grip rollers so that the material will be fed properly.
Material. If using a carrier mat or smaller pieces of media feed from the front.
If using a roll of media, feed on the back of the cutter.
Do not forget to feed out the media from the roll so it can move freely through the machine.
3. Blade holder
Setting up the blade is essential not only for obtaining good cutting results but also in prolonging the life of the blade and to keep the plastic cutting strip smooth.
Click here for an article that explains how to set up your blade and blade holder correctly.
We recommend you read the sections about blade offset and blade depth.
Click "Next" to continue to the next section.
Select communication method
Check the cables provided with the cutting plotter.
Select which communication method you want to use to connect to the cutter.
If you are unsure, click on the methods below and follow the instructions provided.
USB Connection
A communication driver must be installed unless the cutting plotter is plug-and-play compatible.
Plug-and-Play
The cutter's name will show up automatically in the output list in SignCut as a printer, normally, with the name of the manufacturer or model.
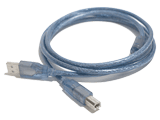
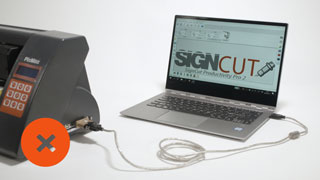
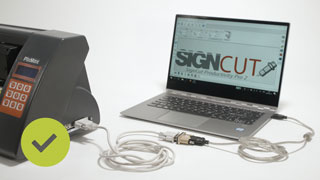
Correct way to install the USB-driver
- Install the USB-driver for the cutter. You can find the proper driver on the manufacturer's or reseller's website.
- Once installed, connect the USB-cable as shown in the illustration on the right.
- Power on the cutting plotter and it will show up in the SignCut output list.
Ethernet or TCP/IP Connection
The process to set up the cutting plotter varies. Check the manual for instructions.
Once you have the IP address of the cutter, enter it in SignCut and continue to the next step.
This video shows how to enter the IP address in SignCut. Click to start and watch the video in fullscreen.
Serial to USB Connection
Serial communication is the most stable communication method. If your computer does not have a serial port, you are able to by-pass this through a Serial to USB adapter.
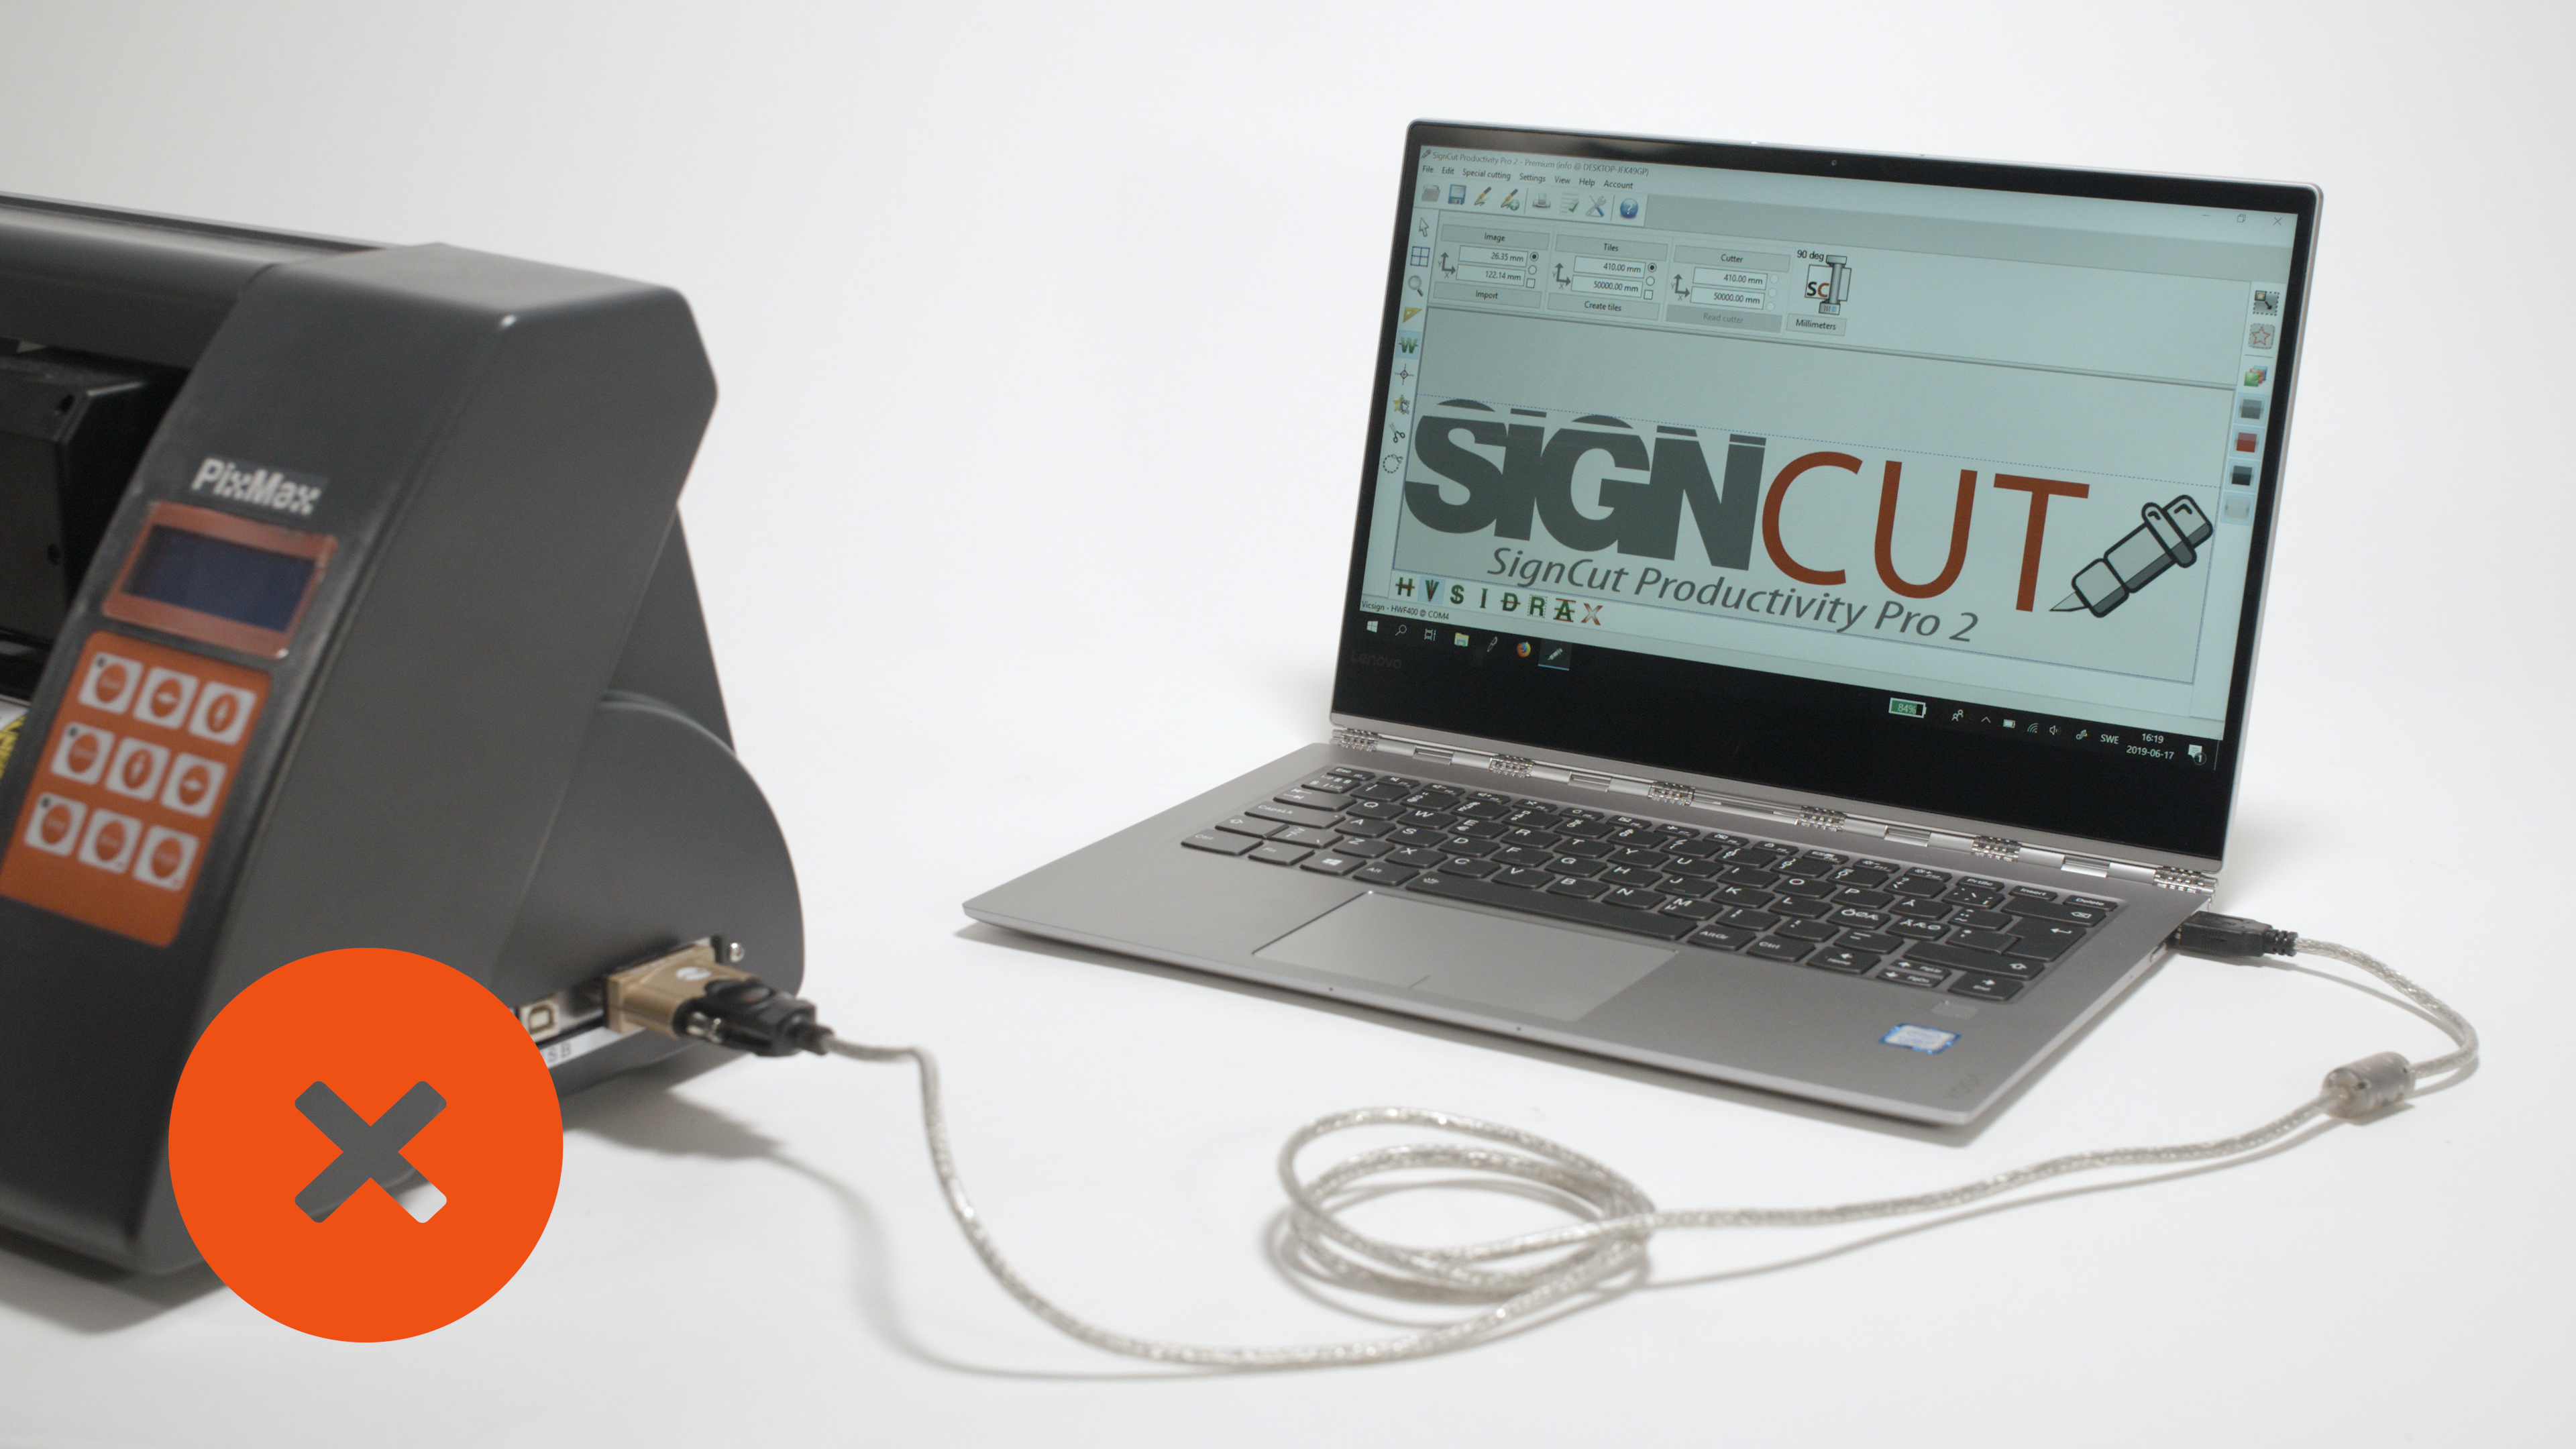
Notice: When using a Serial to USB Adapter, a communication driver must be installed for the computer to recognise it.
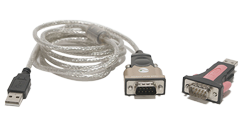
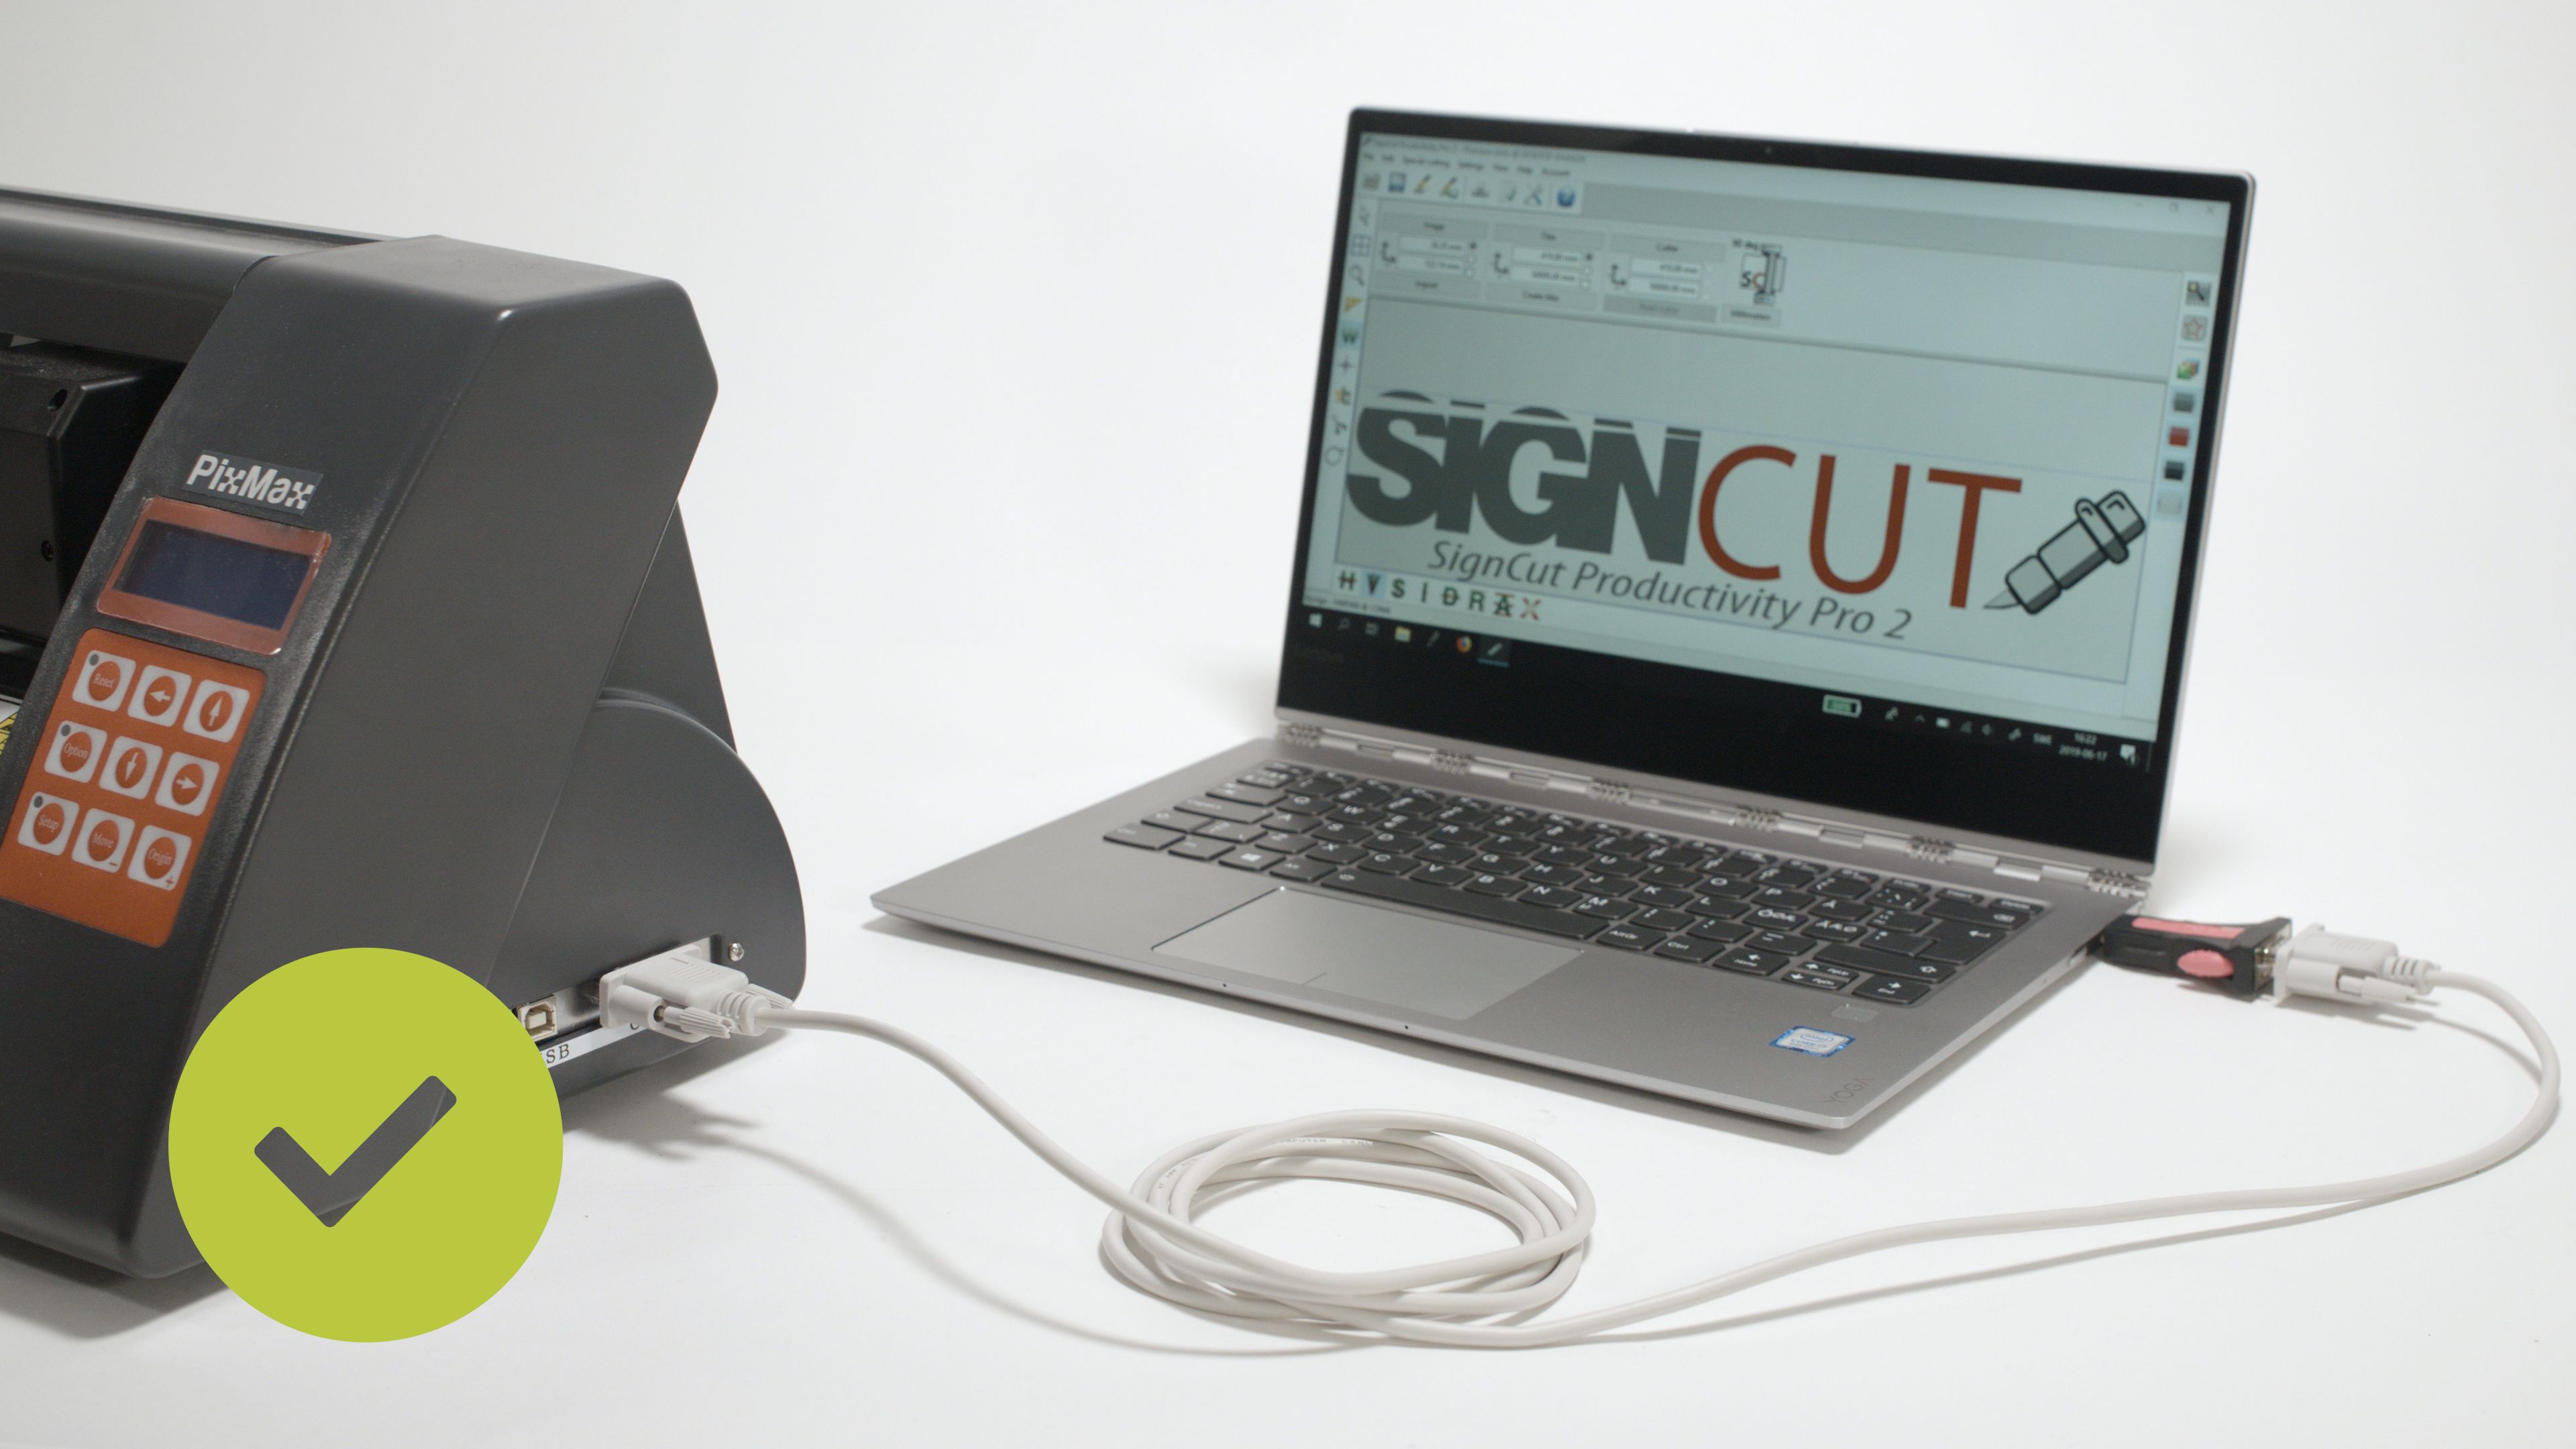
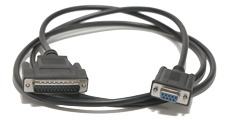
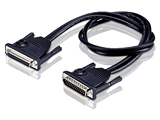
Correct way to connect the adapter and serial cable.
- Install the driver that you received with the adapter. If no driver was included, it could usually be found on the manufacturer's website.
- Connect the adapter and the serial cable between the cutter and computer. See the images below for how to make the correct connection.
- Power on the cutter and it will now show up in the SignCut device list.


Serial Connection
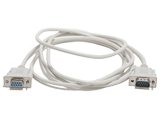
Serial communication is the most stable communication method. If you have both a cutter and a computer with a serial port, you can use a serial cable to connect the cutter to the computer. When you use direct serial communication, you do not need to install a driver. The option is shown in the SignCut device list as COM1 or COM2.
Follow these steps to connect the cutting machine to the computer.
- Connect the serial cable to the cutter.
- Connect the other end to the computer.
- Power on the cutter.
- Select the
COM portfrom the SignCut device list.
If the cutter has a serial port, but the computer doesn't, you can use a Serial to USB converter. Click on Serial to USB tab for setup instructions.
Parallel to USB Connection
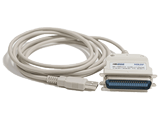
Parallel connection is considered outdated because most modern computers do not have parallel ports. For cutters which only have a parallel port, there are Parallel to USB adapters available which means the cutter can be used with any Windows operating systems.
Note: This does not work with Mac operating systems.
We recommend adapters with FTDI-chip as it is the only type of adapter we support.
Follow these steps to connect the cutter to the computer.
- Install the driver for the adapter.
- Connect the parallel end of the adapter to the cutter.
- Connect the USB end of the adapter to the computer.
- Power on the cutter and it will now show up in the SignCut device list.
- Click OK to close the dialogue.
Parallel Connection
When direct parallel communication is used, you do not need to install a driver.
Follow these steps to connect the cutter to the computer.
- Connect the parallel cable to the cutter.
- Connect the other end to the computer.
- Power on the cutter and it will show up in the SignCut device list.
If no LTP is shown, follow the instructions below.
Open the
Control Paneland clickDevice and Printers.Click
Add a Printer.Click
The printer that I want isn't listed.Click
Add a local printerthen click Next.Click
Use an existing portandselect LPT1 in the list. Click Next.As a manufacturer, select
Generic, and for the printer, chooseGeneric/text only. Click Next.Name the cutter and click Next to install the driver.
Choose if you want to share the cutter on the network and click Next.
Note:We recommend that you do not do this if you are only going to use it on one computer.Do not click
Print out a test pageas the cutter can not print. Click Finish instead.
If the cutter has a parallel port, but the computer does not, you can use a Parallel to USB Converter. Click on the Parallel to USB tab for setup instructions.
Click "Next" to continue to the next section.
Define cutter settings
Here you must enter the cutting plotter's information such as the Manufacturer, Cutter Model and the Output Device/Port and the correct Baud Rate.
Please note that successful communication between SignCut Pro 2 and the cutting plotter depends on the correct selection of these items.
Follow these steps to set up the communication:
- Select the
Manufacturerfrom the dropdown list. - Select the
Cutter modelfrom the dropdown list. - Select the
Output device/portfrom the dropdown list. - Select the
Baudfrom the dropdown list.
If you are not sure which output device/port to use
Click on the dropdown
Output Device/Portlist.Make a note of the choices you have and click OK to close the dialogue.
Disconnect the cutter from the computer.
Click the
Cutterbutton and pull down theOutput Device/Port list.
One option should have disappeared, this is the port for the cutter.
Click OK to close the dialogue.Connect the cutter again and make sure it's powered on.
Click the
Cutterbutton and pull down theOutput Device/Portlist then select the port that has re-appeared.
If no new output device/port option shows up
It could be that it was not the correct driver that was installed.
The cable is not working properly.
The port on the cutter or computer is not working properly.
The cutter is not working properly.
The cables are not working properly.
If you run into this issue, please check the previous section by clicking "Back".
If you are still unable to resolve the issue, please contact our support through livechat and we will help you troubleshoot.
If you do not know which baud rate to use
Check the cutting plotter for a setting in the display called Baud or BR and note the value it is set to.
Select the same value in SignCut's
Cutterdialogue.
Click "Next" to continue to the next section.
Basics in SignCut
The Control Center Panel
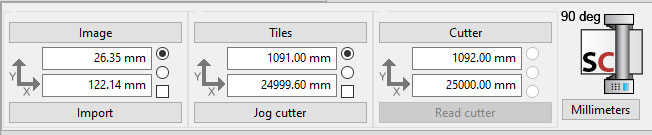
The control center panel is the most common place to check and set sizes. The labels on the upper buttons show which dialogue is going to open when the dialogue is clicked.
With the radio buttons, it is possible to alter the labels and thereby the meaning of the value fields. The lower buttons carry out commands when clicked.
Click on the buttons inside the tabbed menu:
Image panel

The
Imagebutton opens up theSign Sizedialogue.The
Importbutton imports the latest located in the import folder under the SignCut installation folder.The CorelDRAW and the Adobe Illustrator plugins always saves the files there.
Hold downShiftand click theImportbutton to open a file-requester in the import-folder.If the first radio button is selected, it means that you have to read or set the size of the image.
If the second radio button is selected, it means that the values are converted in scale ratio (percentage).
And finally, when the checkbox is ticked it means that the current scale ratio is locked and all subsequent opened files will scale accordingly.
This is only used if the adapted area is switched off. ClickF8to toggle the adapted area ON/OFF.
Tiles panel
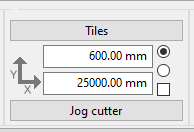
The
Tilesbutton opens up theTiledialogue.The
Jog Cutterbutton opens theJogdialogue.
It allows you to position the knife to the starting point for the material to be cut with the help of the keyboard arrow keys.
In that way, the cutting plotter can keep its origin.
By using this feature, SignCut will calculate the available material size which will affect the automatic tiling.If the first radio button is selected, tile size is shown and set.
If the second radio button is selected, the position on the vinyl is shown and set.
Ticking the check box locks the current tile size.
Cutter panel
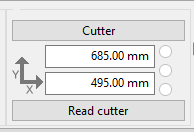
The
Cutterbutton opens up theCutter and Communicationdialogue.The
Read Cutterbutton reads off the vinyl size from the cutter, if the machine and the communication method supports it.
90-degrees cutter icon
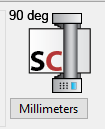
The
90 Degrees Cuttericon shows what coordinate system is currently used.
The icons shows that the orientation is 90-degrees rotated.The
SCletters in the icon shows the lower left corner of the working area.This is the most common cutter configuration. The settings can be changed in the Cutter dialogue.
The settings must match the cutter's rotation orientation in order for SignCut to function expectedly.